If your HP printer stopped printing after unplugging, you’re not alone. This comprehensive guide is here to take you through each necessary step to diagnose and fix the problem, fostering a return to smooth and efficient printing operations.
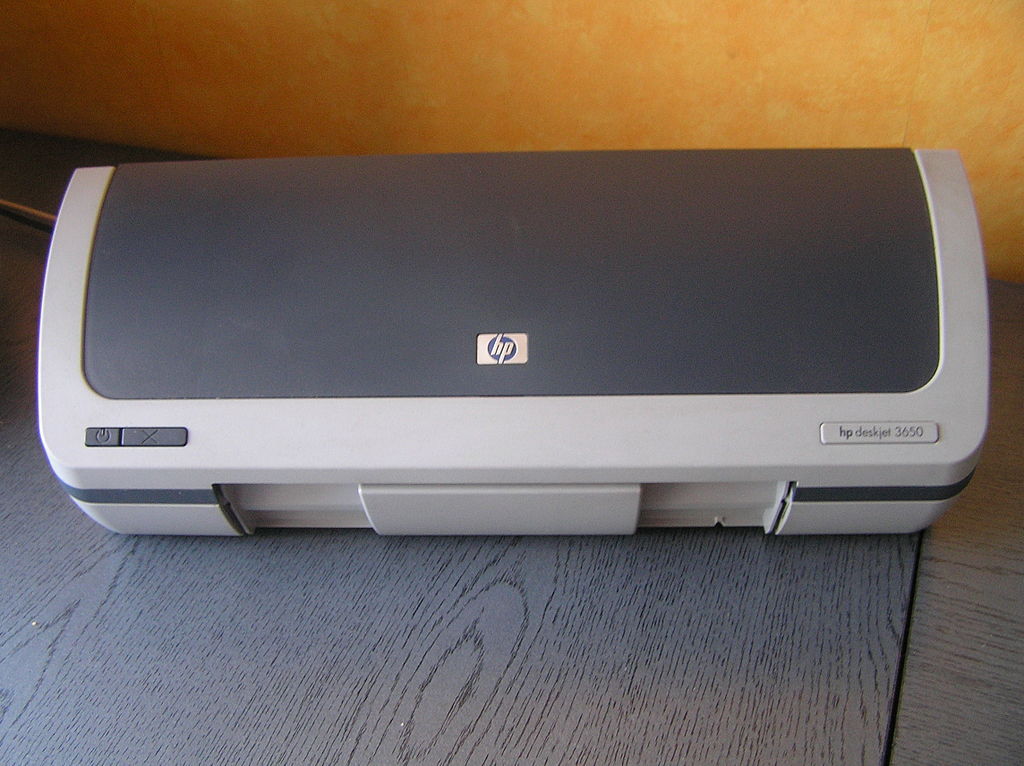
Table of Contents
Understanding Why Your HP Printer Stopped Printing After Unplugging
There could be myriad reasons your HP printer stopped printing after unplugging. It might be due to incorrect shutdown procedures, power surge, or even corrupt files in the print queue.
Understanding the core of the issue is pivotal, as it will guide your troubleshooting process. Let’s delve deeper to unearth the potential reasons and their solutions.
Steps to Fix ‘HP Printer Stopped Printing After Unplugging’
If your HP printer stopped printing after unplugging it, do the steps below to resolve the problem:
Step 1: Ensure Proper Reconnection
The initial step towards addressing the issue where your HP printer stopped printing after unplugging is confirming a proper reconnection of all components. Here are the detailed steps to take:
Power Cord: First and foremost, confirm that the power cord is securely attached to both the HP printer and the electrical outlet. It should fit snugly without any signs of damage.
Power Outlet: Validate the power outlet’s functionality by connecting another device to it. If the other device works fine, then the outlet is in good condition.
USB or Ethernet Cable: Ensure that the USB or ethernet cable linking the printer to the computer is secured. It should not have any visible damage or loose ends. Sometimes changing the port or trying a different cable can solve the issue.
You can replace your damaged USB cable with this Amazon Basics USB-A to USB-B 2.0 Cable from Amazon.
Wireless Connection (if applicable): If you are using a wireless HP printer, confirm that it is connected to the right network. You might have to re-enter the network credentials to establish a connection.
Step 2: Restart Your Printer
Rebooting your HP printer can solve many underlying issues that aren’t immediately apparent. Here’s how you can go about it:
Power Off: Utilize the power button on your printer to turn it off completely. This means waiting for all the noises to stop and for the power light to turn off.
Unplug: After turning it off, unplug it from the power source and wait for about 2 minutes to ensure a complete shutdown.
Power On: Reconnect it to the power source and turn it on using the power button. Watch out for any initialization messages or sounds that confirm it’s starting correctly.
Step 3: Check for Error Messages
Your HP printer’s display panel can provide vital information on existing issues. Here is a guide to effectively check for error messages:
Inspect the Display Panel: Meticulously check the panel for any error messages or codes. These messages can often hint at what the underlying issue is.
Consult the Manual: If you find error codes or messages, refer to your HP printer’s user manual or the HP official website to understand what they signify and how to resolve them.
Check out these other articles…
HP Printer Stopped Printing After Color Ran Out: Quick Fixes
HP Printer Stopped Working After Adding WiFi: 5 Easy Fixes
HP C6100 Series Printer Stopped Printing After Installing New Router
HP Printer Stopped Working After 2 Years: Easy Solutions
HP OfficeJet 5745 Printer Stopped Working After Power Surge
How to Stop HP Printer From Printing a Cover Page After Every Print
Step 4: Reinstall Printer Drivers
Reinstalling printer drivers can sometimes be the solution you need. Here’s how to do it correctly:
Uninstall Current Drivers: Before installing new drivers, it is best to remove the current ones. Navigate to ‘Devices and Printers’, right-click on your HP printer, and select ‘Remove Device’.
Download Latest Drivers: Visit the HP official website, navigate to the support section, and download the latest drivers compatible with your printer model and operating system.
Installation: Install the downloaded drivers by following the on-screen instructions. Ensure to grant any necessary permissions during the installation process.
Reboot: After installation, reboot both your computer and printer to effect the changes.
Step 5: Clear Print Queue
An overcrowded print queue can be a hindrance to your printing tasks. Here’s how to clear it:
Navigate to Print Queue: Go to ‘Devices and Printers’ on your computer, right-click on your HP printer icon, and choose ‘See what’s printing’.
Cancel Jobs: In the window that opens, you will see a list of pending print jobs. Cancel all the jobs by right-clicking on them and selecting ‘Cancel’.
Restart Printer: After clearing the print queue, restart your printer to refresh its system before attempting to print again.
Test Print: Finally, initiate a test print to verify if the issue has been resolved. If successful, this means your printer is now ready to take on new print tasks.
