This guide will take you through a step-by-step process to diagnose and solve the ‘HP printer clean printhead not working’ problem, focusing on the common reasons for printhead issues and how to resolve them.
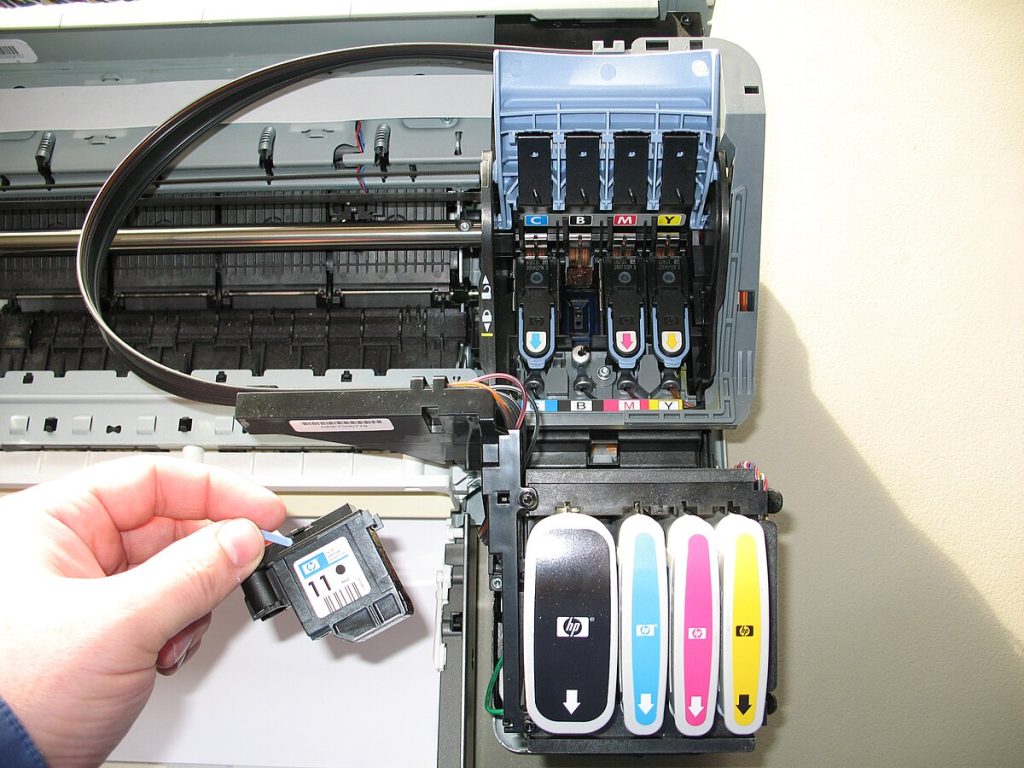
Table of Contents
Step-by-Step Guide to Fix ‘HP Printer Clean Printhead Not Working’ Problem
This section provides a comprehensive step-by-step guide to addressing the ‘HP printer clean printer head not working’ issue. Follow these steps carefully to ensure proper resolution.
Step 1: Check for Clogs in the Printhead
The printhead’s nozzles can become clogged with dried ink, leading to poor print quality and even failure to print. Here’s how you can inspect and clean the clogs:
Turn off the printer: It is essential to turn off and unplug the printer to avoid any electrical hazards. Safety should always be your first concern.
Open the printer: Carefully open the printer access door using the manual guide that came with your printer, as models may differ in how to access the printhead.
Inspect the printhead: Look closely for signs of dried ink that may be blocking the nozzles. You might need a flashlight to see clearly.
Clean the clogs: If clogs are found, use a soft cloth dampened with distilled water to gently wipe them away. It’s important to use distilled water to avoid any mineral residues, and you must be gentle to avoid damaging the delicate printhead.
Step 2: Update Printer Software
Outdated software can lead to compatibility issues, resulting in the cleaning process failing. Here’s how to update your printer’s software:
Ensure that your printer’s drivers and firmware are up to date: Outdated software can lead to miscommunication between your computer and printer, causing the printhead cleaning function to fail.
Visit the HP official website: Search for your specific printer model on the HP support site, where you can find the latest drivers and firmware.
Follow the installation instructions: Each download page will provide a detailed guide on how to install the software. Carefully follow these instructions, as the process may vary depending on your printer model and operating system.
Check out these other related articles…
HP Printer Cleaning Kit: Comprehensive 411 Guide
HP Printer Self Cleaning: Your Complete Guide
How to Run a Cleaning Cycle on HP Printer: Easy Guide
HP Printer Cleaning Sheet: Your Ultimate Guide
HP Printer Cleaning Service: Everything You Need to Know
Step 3: Perform a Manual Cleaning
If the automatic cleaning process is not working, you may need to perform a manual cleaning through the software. Here’s how:
Access the printer settings: Go to ‘Devices and Printers’ on your computer (this may vary depending on your OS), right-click on your printer, and select ‘Printing Preferences.’
Run a manual cleaning cycle: Look for a ‘Maintenance’ or ‘Services’ tab where you will find a ‘Clean Printhead’ or similar option. Click on this and follow the on-screen instructions. Running this manual cleaning cycle will prompt the printer to attempt to clean the printhead again, possibly resolving minor issues.
By following these detailed steps, you should be able to resolve the ‘HP printer clean printhead not working’ ‘issue.
If the problem persists, it may be a sign of a more serious hardware malfunction, in which case contacting HP support or seeking professional repair services may be necessary. Always remember to handle your printer with care, as improper handling can cause further damage.
We also recommend you read this article: Clean HP Printer [How To, Issues & Solutions]. In that article, we provide solutions to different issues you might encounter when cleaning your HP printer.
