This guide is designed to walk you through each step of the HP Color LaserJet 5550 printer clean fuser process with ease and confidence. Roll up your sleeves and prepare to rejuvenate your printer with a clean fuser.
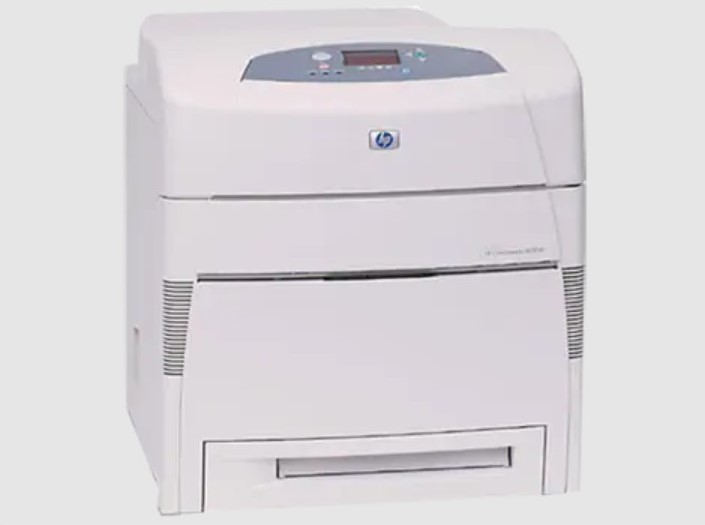
Table of Contents
Steps to Perform HP Color LaserJet 5550 Printer Clean Fuser
Follow the steps below to perform the HP Color LaserJet 5550 printer clean fuser procedure.
Step 1: Safety Measures Before You Start
Safety comes first in the HP Color LaserJet 5550 printer clean fuser procedure. Disconnect the printer from the power outlet; this is to ensure that there are no electrical currents flowing, which could lead to accidents such as electrical shocks.
After unplugging it, allow the printer to cool down for about 30-60 minutes. Fusers can reach high temperatures and cooling down avoids risks of burns.
Ensure to work in a well-ventilated area to avoid inhaling any dust or particles that may be dislodged during the cleaning process.
Also, remove any jewelry like rings or bracelets to avoid them getting caught in the printer’s parts.
Step 2: Gathering Necessary Tools
Organization is key to a smooth and successful HP Color LaserJet 5550 printer clean fuser operation. Having the right tools at hand is vital. These include:
A lint-free cloth: To ensure that no fibers are left behind during the cleaning process.
Isopropyl alcohol: A solvent that will help in removing grime and sticky substances without damaging the components of the fuser.
You can get this MG Chemicals 824 99.9% Isopropyl Alcohol Electronics Cleaner from Amazon to help you get the best results.
A small brush: To reach and clean tight areas where dust accumulates.
Ensure to have a small container to place small parts that might be removed to prevent losing them.
Step 3: Accessing the Fuser
Accessing the fuser is the next pivotal step in the HP Color LaserJet 5550 printer clean fuser process. Gently open the back door of the printer to reach the fuser unit.
You will notice the fuser unit is held by two latches. These latches can be released gently by pressing down on them.
Take note of the position and orientation of the fuser before removing it, as it will need to be replaced in the exact same position after cleaning.
Step 4: Cleaning the Fuser
Now, with the fuser accessible, initiate the HP Color LaserJet 5550 printer clean fuser step by gently wiping the surface of the fuser with a lint-free cloth slightly dampened with isopropyl alcohol.
Brush away dust and dirt that may be lodged in smaller areas using a small brush, and be meticulous in reaching corners and crevices where dust and grime can accumulate.
Remember to clean both the rollers and the surrounding area, ensuring every part is grime-free. Conduct this process gently to avoid damaging the sensitive parts of the fuser.
Check out these other articles…
HP Printer Clean Mylar Strip: In 4 Simple Steps
Cleaning Inkwell on HP 7525 Photosmart Printer: Easy Guide
HP Printer Says Cleaning Then Jams: 4 Proven Solutions
How to Clean HP Printer Waste Tank: In 7 Easy Steps
Can I Clean the Ribbon on My HP 1600 Printer? Answered
Step 5: Reinstalling the Fuser
Upon a successful cleaning, the next stage is to carefully reinstall the fuser in the HP Color LaserJet 5550 printer. Align it properly as noted when you removed it, and then gently slide it back into its designated position.
Secure it firmly by locking the latches. Ensure no tool or cleaning material is left inside to prevent any malfunctions. Close the back door only after confirming that everything has been restored to its place.
Step 6: Testing the Printer
With the fuser back in place, the final step in your HP Color LaserJet 5550 printer clean fuser endeavor is to test the printer. Reconnect it to the power source and switch it on.
Carry out a few test prints to check the quality of the prints. If the prints come out clean and clear, you have successfully completed the cleaning process.
However, if you notice any issues, it is advisable to seek the assistance of a professional technician to avoid causing any damage.